

1
/
of
2
Mega Shop Japan
Warckon Shrink Plastic Sheets 72 Pieces Shrink Art Paper Shrink Film Sheets Frost Ruff Ready Creative Crafts for Kids Make Your Own Thinky Dink Earrings Necklaces Keychains (2.25 x 4.1 inches)
Warckon Shrink Plastic Sheets 72 Pieces Shrink Art Paper Shrink Film Sheets Frost Ruff Ready Creative Crafts for Kids Make Your Own Thinky Dink Earrings Necklaces Keychains (2.25 x 4.1 inches)
Regular price
$136.00 USD
Regular price
Sale price
$136.00 USD
Unit price
/
per
Shipping calculated at checkout.
Condition: New
Couldn't load pickup availability
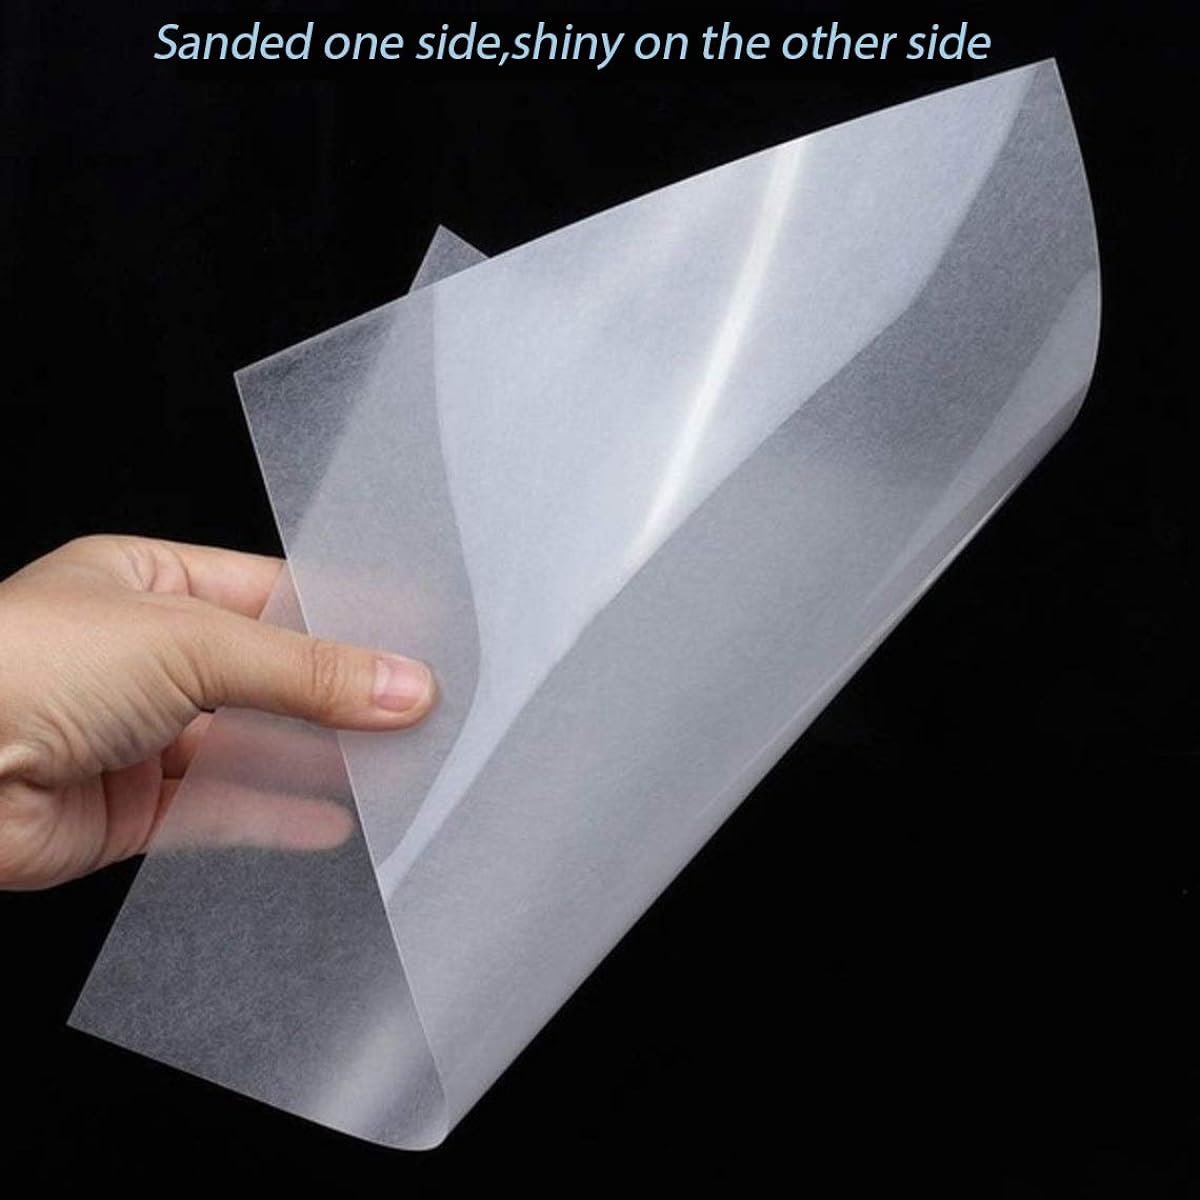
Package includes: 72 x Sanded Shrink Plastic Sheets One side is matte and the other side is glossy. Shrinky Art Paper: Provides opportunities for kids to create, learn, and explore. It also stays close to parents and children. CREATE YOUR OWN MINIATURE WORLD: This shrink art paper is 5.7 x 4.1 inches/14.8 x 10.5 inches and 0.3mm thick. Even after heating, it will shrink to 20% of its original size. How to use: Simply draw and color your favorite art, cut it out with scissors, and shrink it in the oven. Wide range of uses: Endless creative uses for keychains, jewelry, buttons, gift tags, zipper pulls, bookmarks, scrapbooks, and decorations.
Best choice for DIY enthusiasts: Very easy for master craftsmen. You can easily shrink it and express your creativity. Instructions: 1. Draw a pattern on the matte side and color it with colored pencils. 2. Cut along the pattern lines. 3. Drill a hole in the reserved space or pattern to attach your jewelry. 4. Prepare an oven tray, aluminum container, or other dust-free container and place the painted side on baking paper. Keep about 7.5cm between each shrink plastic to prevent adhesion during baking. 5. Preheat the oven to 350°F and place the container prepared in step 4 in the oven. The shrink plastic will shrink, roll up, and flatten out again. Once it becomes flat, you can bake it for more than 30 seconds. 6. Carefully remove the finished product from the oven. Then remove the baking paper, lay all the shrink plastic flat and wait about 15 minutes to cool. 7. Hang the finished product on a keychain. Can be used as decoration. Product contents: 24 sheets of shrink plastic. WARNING: Adult supervision is highly recommended while using the oven.
Best choice for DIY enthusiasts: Very easy for master craftsmen. You can easily shrink it and express your creativity. Instructions: 1. Draw a pattern on the matte side and color it with colored pencils. 2. Cut along the pattern lines. 3. Drill a hole in the reserved space or pattern to attach your jewelry. 4. Prepare an oven tray, aluminum container, or other dust-free container and place the painted side on baking paper. Keep about 7.5cm between each shrink plastic to prevent adhesion during baking. 5. Preheat the oven to 350°F and place the container prepared in step 4 in the oven. The shrink plastic will shrink, roll up, and flatten out again. Once it becomes flat, you can bake it for more than 30 seconds. 6. Carefully remove the finished product from the oven. Then remove the baking paper, lay all the shrink plastic flat and wait about 15 minutes to cool. 7. Hang the finished product on a keychain. Can be used as decoration. Product contents: 24 sheets of shrink plastic. WARNING: Adult supervision is highly recommended while using the oven.
Share